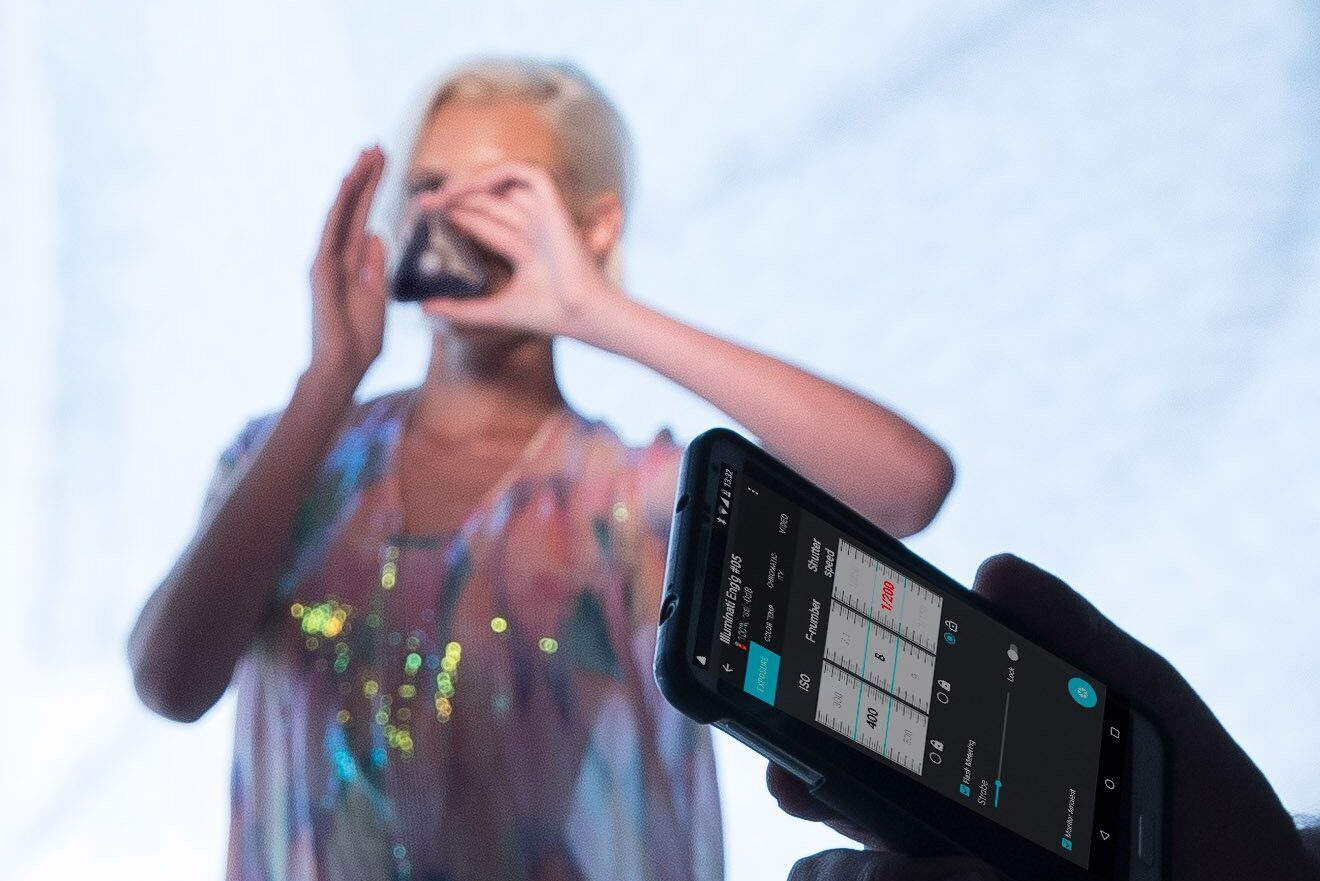
Here is a white balance example for the Illuminati color meter that anyone who shoots outdoors will find helpful. Our scene is this gold-colored house in summer. The front of the house sits in shade – a challenging enough lighting conditioning for any camera – and is surrounded by a green lawn and green trees which cause green light to bounce all over, playing havoc with our ability to capture a neutral image. See how the Illuminati Meter can simplify this lighting challenge in just a few steps.

In-Camera AWB – Too Green and Too Blue
The camera captured this image using its AWB (Auto White Balance) based on light reflected into the camera. It missed the color temperature of the light source (the “blue-yellowness” of the source), and failed to correct the green tint caused by the light reflecting off the tree and grass. Both have thrown off the balance of this image.

Corrected Using the Illuminati Meter
Using the White Balance and color shift information from the Illuminati Meter, the corrections to fix this image are easy to determine. Since it is an incident meter – measuring the light falling on your subject – it is far harder to fool.
Checking the ColorCheckers
We put a ColorChecker in the scene to show you the white balance error issues. In actual shooting, you wouldn’t need it.

In-Camera WB – The color balance is way too cyan and a bit too blue – and the gold color of the house is completely lost. The RGB reading in patch 21 (3rd-lightest gray) backs this up: it is (127, 147, 155).

Illuminati Meter Settings – Color is balanced correctly, and the RGB reading in patch 21 is (134, 133, 131) – a good result.
Achieving this was easy. We simply used the color temperature reported by the Illuminati meter to set our White Balance in Kelvin in the camera. Then we used the measurement the meter provides for our light source’s green/magenta shift and entered that into our camera as well. Two quick steps to perfect color! Read on for the details.

Illuminati Meter Color Temperature
In order to show the procedure in more detail, we put the camera up close to the ColorChecker along with the meter and the smartphone showing the readings.
The Illuminati Meter tells us the color temperature is approximately 7000K, so we just dialed that into the camera, along with the ISO, aperture, and shutter speed. Here is what patch 21 reads now: ( 135, 148, 140).
This is better than the in-camera AWB, but the image can still be improved by reducing the high green reading. We will fix that in the next step.
Duv and Color Temperature
There are actually two parts to the color information the Illuminati Meter provides: one is the color temperature – a metric familiar to most photographers. The other is Duv. Duv measures the green-magenta component of your light, helping you determine whether a correction is needed for fluorescent lights, LEDs, or – as in this case – even daylight.
In this case, we have a Duv of +0.007, indicating too much green (negative numbers indicate the light source is magenta). In the next step, we will show you how to remove it.


In-Camera Manual White Balance Adjustment
Many cameras these days are equipped with a manual WB adjustment feature that lets you correct green-magenta shifts in the images produced by the camera. The screen illustrated here is one such example. All you have to know is that a Duv of 0.004 is equal to about 1 unit of change in the camera’s Manual WB Adjustment. So, in this case, with a reading of -0.007, we just used 2 units of magenta to get rid of the green. As you will see, it worked very well.
BTW – as you can see in the image, this adjustment also allows you to change the A-B (or yellow-blue) balance. We find it less confusing to leave this adjustment at zero and use the Kelvin Color Temperature setting in the camera’s White Balance control – our usual procedure.

Green Tint Fixed
The result of using the White Balance Adjustment control in the camera to remove the green cast is shown here. The RGB numbers for patch 21 are quite good (125, 125, 122). Now we have an image that has the correct color temperature and the green tint has been removed.

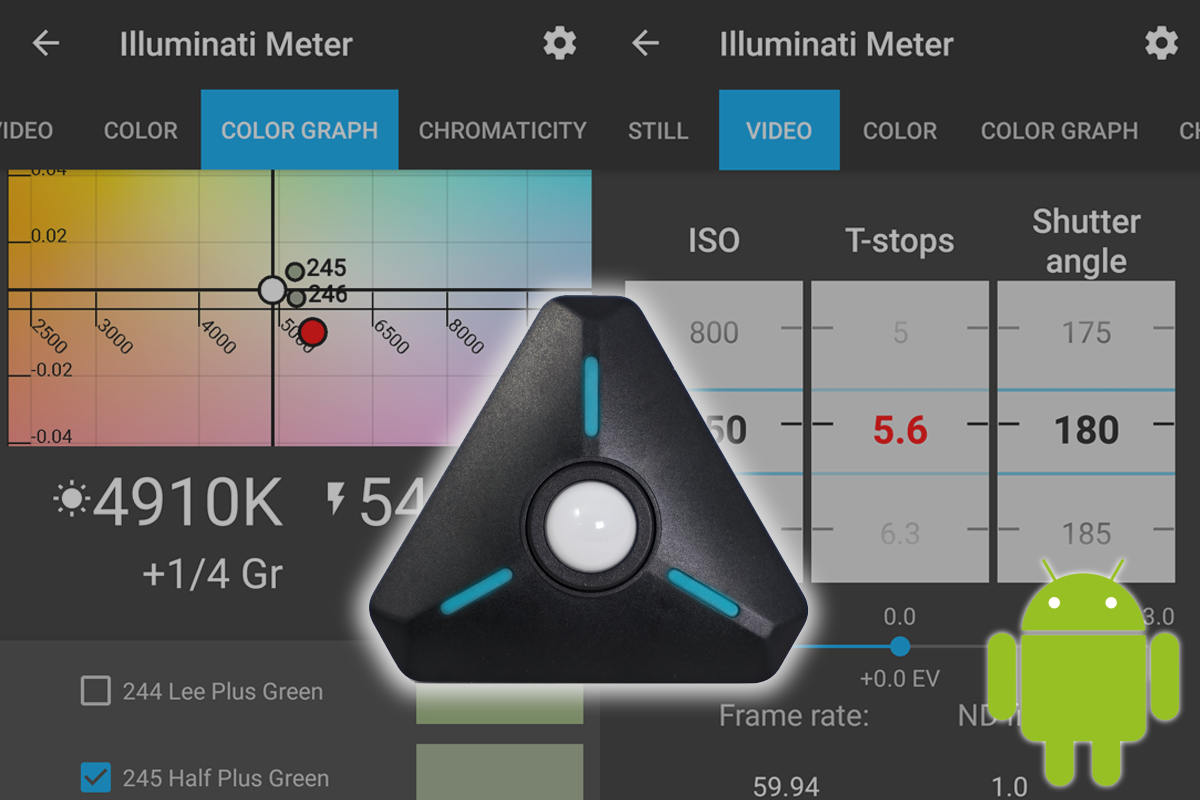
Illuminati App showing the Color Temperature Tab, displaying the color temperature, Duv shift, and the graph for displaying the light source and the effect of various color correction filters.

Effect of using the magenta color correction filter, along with the Manual White Balance setting from the app.
Another Way to Fix the Green Tint
If your camera does not have a Manual White Balance feature, you will find the meter can still help you correct the green tint. Instead of entering a value in the camera, you can simply use a magenta filter. The Illuminati App’s Color Temp Tab display shows you how.
If you look closely, you can see that there are three dots in the color graph. One is the meter’s measurement of the light itself – in this case the one on the top. Notice that the reading is slightly green – i.e. it is above the “neutral” horizontal line. There are two other dots: one is marked 3313, and the other is marked 3314.
If you are familiar with the Roscolux gel filter library, you will recognize these as magenta filters for removing a green tint. Knowing there was a green tint to the lighting, we pre-selected the filters in the Illuminati Meter App, which also shows you the effect of applying these filters. The “3314 1/4 Minus Green” filter is the right choice for this condition – you can see it is plotted right on the neutral line in the graph.
Just put the filter over your lens when you capture your images. BTW – both of these filters come in the Rosco Color Correction Kit, a very handy set of filters for many lighting conditions, available at many photo retailers, and not terribly expensive either. The folks at Lee probably have a similar set.
Balanced images in just two steps.
Just Two Steps
This lighting example was handled quite easily by the Illuminati Meter in just two steps:
- Take an incident reading and enter the color temperature into your camera’s Kelvin White Balance setting.
- Use the Duv measurement provided alongside the color temperature reading to adjust your camera’s green/magenta balance. You can do this with either the setting for this built into your camera, or with a gel filter from a kit.


Wow! Super helpful. I knew how to set the WB based on the color meter, but couldn’t figure out how to read the info pertaining to the M/G shift. Thanks so much!
Glad you found the post useful. We plan to do more of these, highlighting different ways to use the Illuminati Meter.